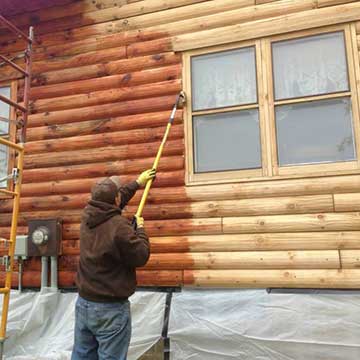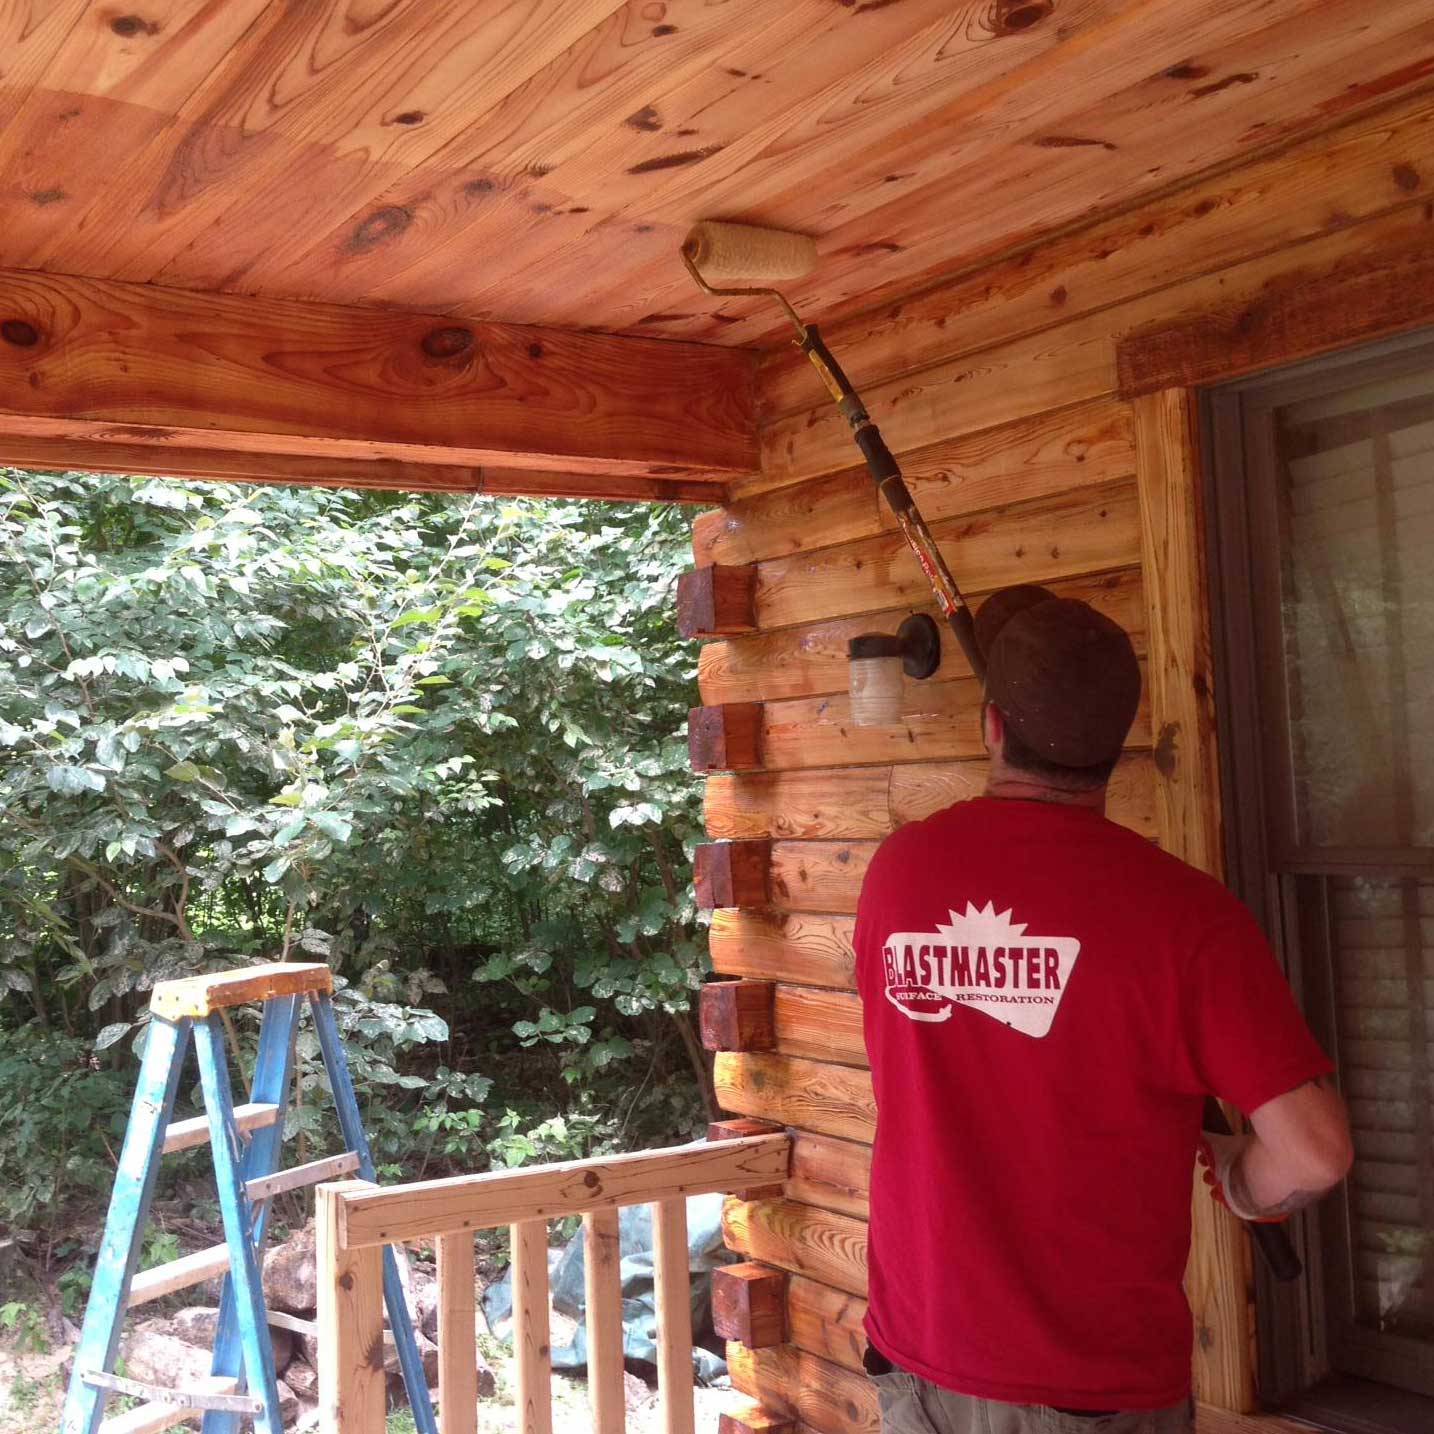
How much maintenance does a log home actually require?
I can’t tell you how many times I’ve heard people say, “Log homes require SOOO much maintenance.” And, if you own a log home, I’m sure you’ve heard this…or even said this yourself. So, how much maintenance does it require? The answer to this is not…

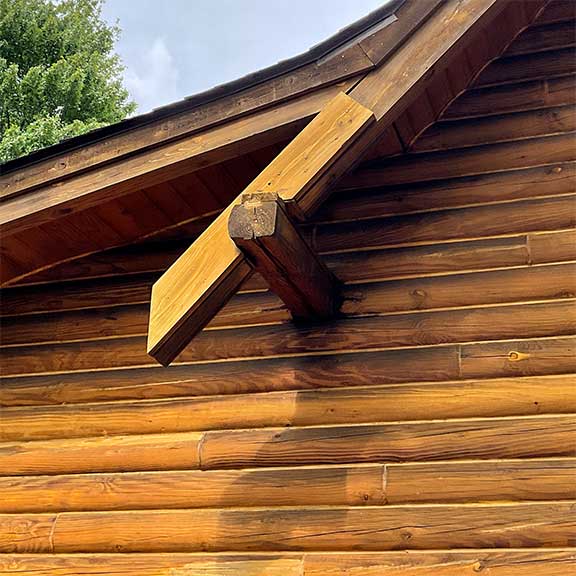
What if your log home came with an instruction manual?
If your log home came with an instruction manual, most of it would be similar to any other home. Your plumbing works the same, your electrical system works the same, your HVAC is the same, even your roof is the same. Each of these systems…
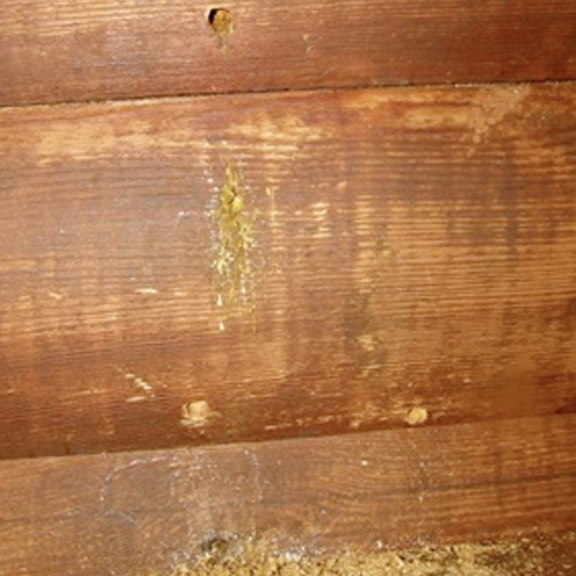
Carpenter Bee Control
Carpenter Bees and log homes are not a pleasant combination for the log home owner. Unfortunately, the bees do not agree. Carpenter bees bore holes approximately ½” in diameter in which to lay eggs. The bees can do a great deal of damage as they…
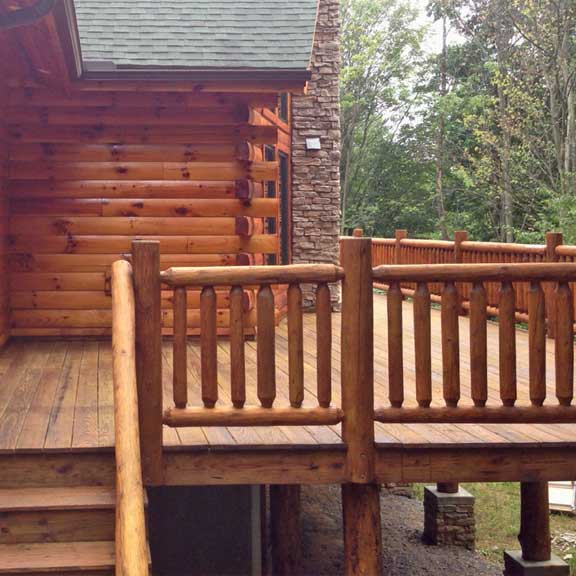
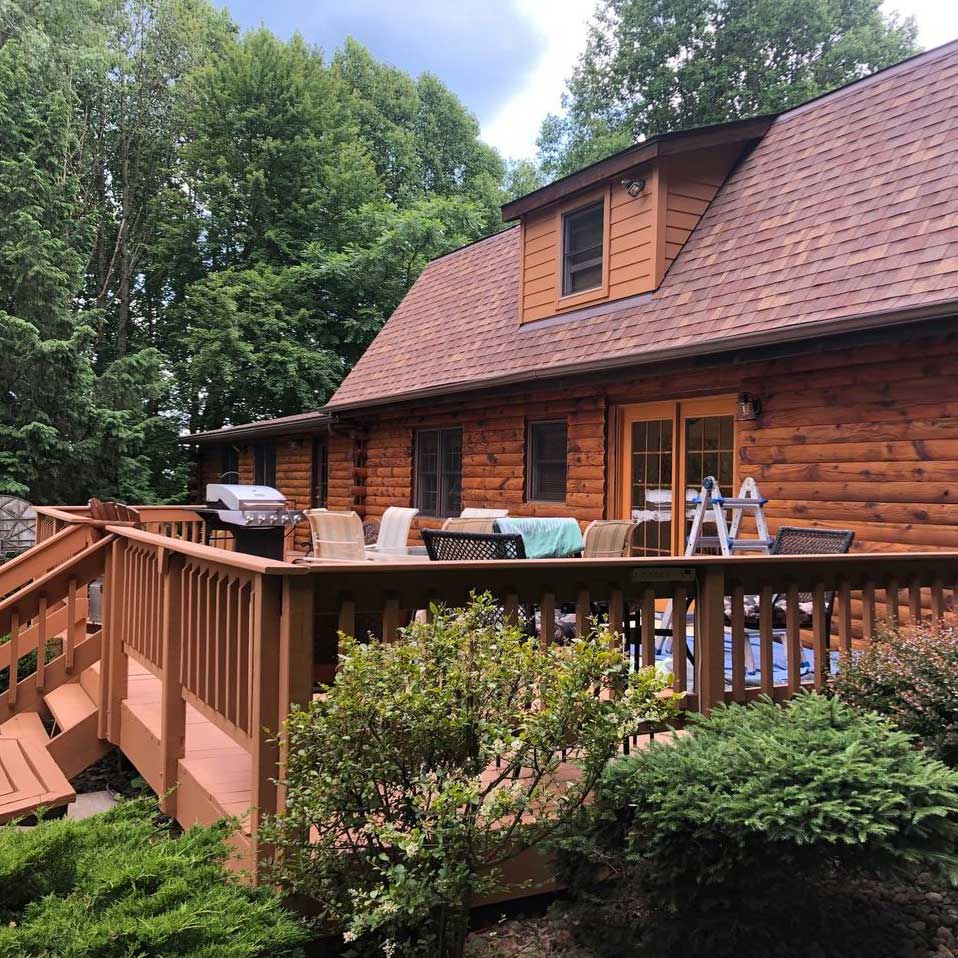
Deck Care and Maintenance
Decks and rails made of wood require a lot of maintenance. So far, there has not been a deck stain/finish created that can withstand the wear and tear of foot traffic, the UV damaging sun rays, the constant bombardment of rain, snow, hail, bird droppings,…
Helpful Hints
1) Be prepared for some dust in your home. When cob blasting a home, if there are gaps in which air can come in, then its likely some cob will come in as well. If the house is well sealed, this may be a very…